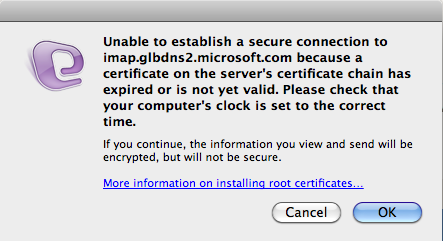
Did you come across the error “identity could not be opened” or “Identity could not be opened with this version of Outlook”?
If yes then do read this blog completely. Here you will get some possible solutions to solve the error.
This entourage error generally appears when Entourage has already been configured with another service provider. In the entourage database, many types of data are stored, such as preferences, rules, schedules, signatures, messages, contacts, in a database on your computer. When you run entourage the first time, a Microsoft User Data/Office 2004 or 2008 Identities folder is created in the “Documents” folder. This folder holds the “Main Identity” folder, which stores the data for the first identity.
Methods To Fix “This Identity Cannot Be Opened”
Here are few best solutions to help you out from the error message.
Method 1: Close All Apps From PC
It’s better to close all the applications before you proceed further to fix the error. Also when you are not able to close any apps then simply follow the below steps:
- First, choose Force Quit option or press Command > Option > Esc
- After that, choose all the needed applications from window
- And then, click on Force Quit option
- At last, repeat the steps above mentioned unless all running applications are closed
Method 2: Install Latest Version Of Outlook
When you come across identity issues then to fix it, you need to update Outlook to its latest version. As the error occurs by conflicting versions of the database and MS Office, therefore latest update version will solve the problem of “This identity could not be opened for this Outlook”.
Here are the steps to follow:
- First, open MS Office
- Then, tap on Help Menu and check for updates
- After that, choose the option for “How would you like to check for software updates?”
- Next, tap on Automatically
- At last, the user can select updates
Once you select Automatic updates, now the user can get intimation of recent updates. After this, if the error is resolved then ensure the error was due to the incompatibility of the older version. When the error is not resolved then move to the next method.
Method 3: Move Office Identities Files
Still facing the issue then you should try to move the Office Identities folder to the desktop. Hopefully, this can solve the error. Here are the steps to follow:
- First, quit all active app from system
- Then tap on Go Menu > choose Home
- Now, select Microsoft user database in Documents
- Then, drag Office Identities folder into desktop and drop it
- At last, login to Outlook account
Method 4: Find Hard Disk Space Available On Machine
You should check that the hard disk space should be equal to three times the current size of Outlook Identity. This means that if folder size is 1GB then hard disk space should be 3GB leaving space required for virtual memory.
However, to determine the size, simply follow the steps below:
- First, click on Go > Home > open Documents folder
- Now tap on Microsoft User Data > Office 2011 Identities > Identity folder
- Next, go to File Menu > choose Get Info > Get information
- At last, check the size required for solving the error
Once the Outlook identity folder is created, some amount of hard disk space is allocated automatically for saving data.
Method 5: Rebuild Database Files
Now, its time for Outlook 2011 database recovery after you have successfully created a backup of Outlook identity folders. Here are the steps to follow:
- First, press the Option key from the keyboard and tap on the desktop icon of Outlook 2011. It will open Database Utility Window
- Now tap on a database that you wish to maintain > click on Rebuild button
- Next, Rebuilding Main Identity window will occur to display the current status
Once the process is finished, you will come across a popup window that displays a message “Your database was rebuilt successfully”. Simply tap on Done and check if the problem is solved or not. If this also does not solve the error then move to the next solution.
Alternate Ways To Fix “This Identity Could Not Be Opened For This Outlook”
When the above manual solutions do not work for you then you can use an alternative method. Entourage Repair Tool is one of the best and most recommended tools to fix the corruption issue. This has the ability to fix the corrupt and damage Entourage database (RGE) file.
This one is a great software that performs Entourage recovery from Mac only in few minutes as this is built with advanced features and takes deep scanning process of the entire hard drive or disk.
Not only has it fixed the above error but also other issues as well. It repairs the entourage database in three easy steps: Scan, Detect and Repair. It can recover corrupt data which includes contacts, attachments, e-mail messages, notes, calendars, tasks, etc in their original form and that too without any further damage.
 |
 |
 |
Steps to repair Corrupt Entourage Database
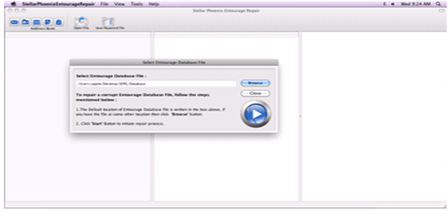
Step 1: Start the Entourage repair Tool software. After that ‘Select Entourage Database File’ dialog box that gets displayed first by default. Now in the text box you will find a default location of the database file, is by default selected. Press on ‘Browse‘ option to select the database files from any other location.
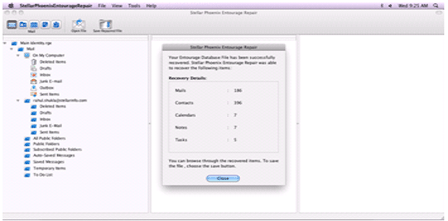
Step 2: After this, the file will scan itself. After the completion of the scanning process, a summary message box will get displayed. Hit on the ‘Close’ button to close this summary message box.
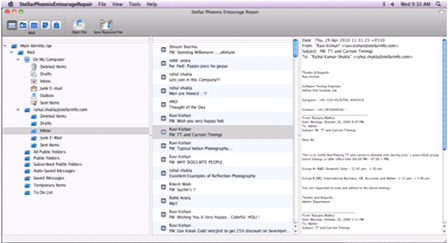
Step 3: After this has a preview of the repaired Entourage database file before saving, open it in Stellar Phoenix Entourage Repair. You will find the default repaired mail which is displayed on the preview window. To have a preview of any mail, hit on the ‘Mail’ button of the Toolbar or go to the ‘View’ menu and click Mail option. You can even select your desired Entourage mailbox folder to see its contents.
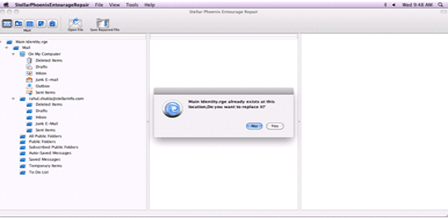
Step 4: Now to save the repaired entourage file at your desired location, click on the File option on the application’s menu bar. Then select the ‘Save Repaired File’ option and after this, you will find the ‘Destination Folder’ dialog box. Select your desired destination for saving the repaired file.
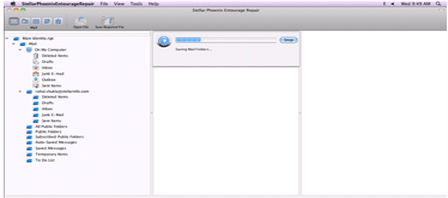
Step 5: At last you will find a saving process dialog box. You can even click on ‘Stop’ button to stop the file saving process.
 |
 |
 |

Jacob Martin is a technology enthusiast having experience of more than 4 years with great interest in database administration. He is expertise in related subjects like SQL database, Access, Oracle & others. Jacob has Master of Science (M.S) degree from the University of Dallas. He loves to write and provide solutions to people on database repair. Apart from this, he also loves to visit different countries in free time.
